How To Use:
1. Clean out any loose glass particles from damaged area with the pin.
2. Peel off one side of adhesive seal, line up hole in seal with pointing tab upward, press seal to glass.
3. Remove backing from seal and mount pedestal to adhesive seal.
4. Place resin into pedestal.
5. Connect injector to pedestal.
6. Lock plunger in vacuum position and let sit for 10mins.
7. Take injector out from the pedestal, make the plunger to its maxi position, put the injector back to the pedestal.
8. Rotate plunger releasing spring clip from lower notch, depress plunger downward engage upper notch with spring clip. Let sit for a min of 20 minutes.
9. Loosen outer edges of pedestal with a safety razor, then slowly pull up until removed.
10. Wipe and remove excess resin.
Note:
Avoid using in direct sunlight-work in shaded area.
Do not work on a hot windshield, park vehicle in shaded area and open for windows to cool glass surface.
A safety razor is required to remove components and finish repair.
Do not let resin come in contact with painted surfaces.
Note:
Please allow slight color variation for different display setting.
Thank you for your understanding, nice day!
Package Includes:
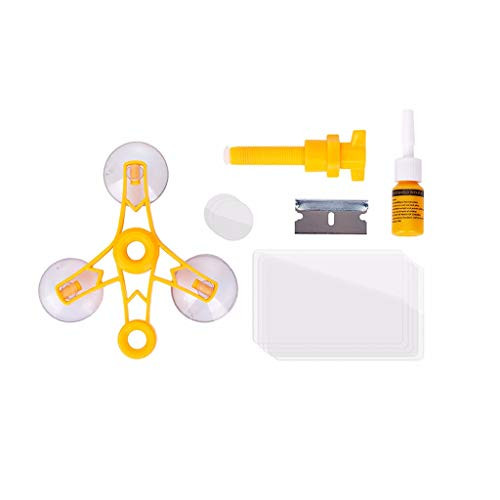
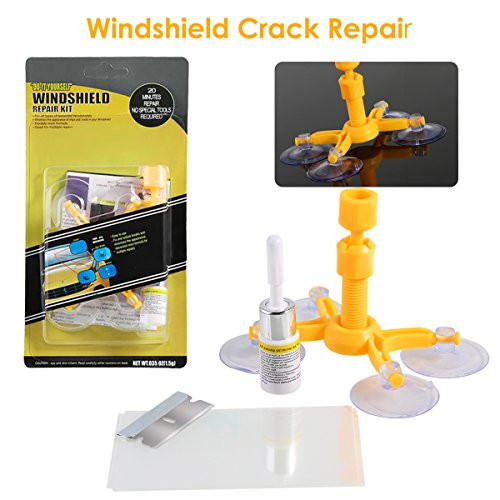
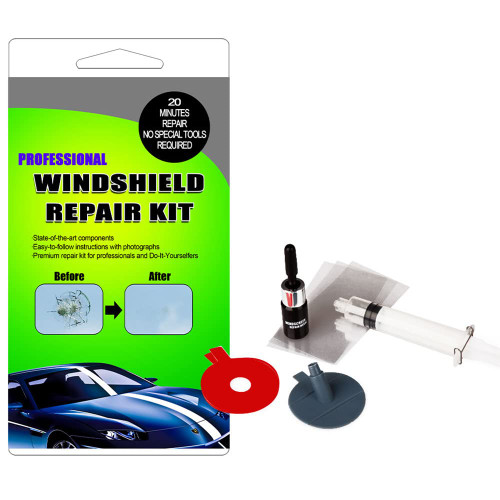
1 x DIY Car Windshield Repair Tool Kit


